Installation
Installing Radio Silence has two steps: running the installer package, and enabling the network extension. Both are easy to do.
Running the installer
You can download an installer file from the downloads page. The page will automatically suggest a version of Radio Silence that is compatible with your version of macOS. Double-click on the downloaded file. The installer will open:
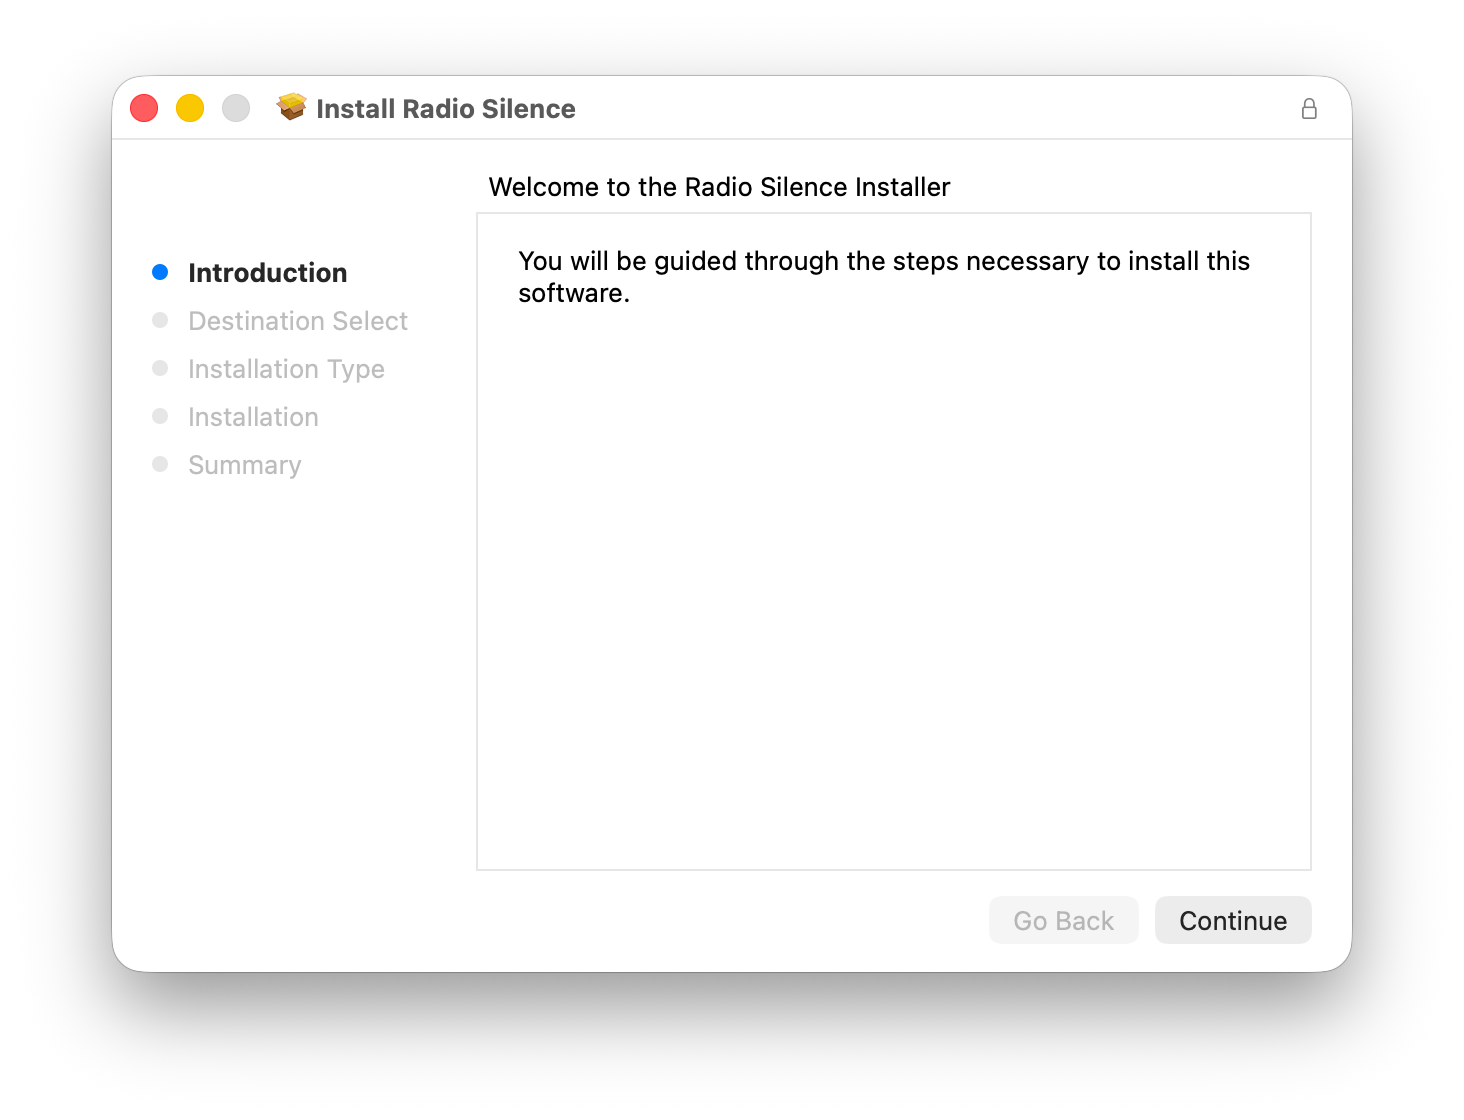
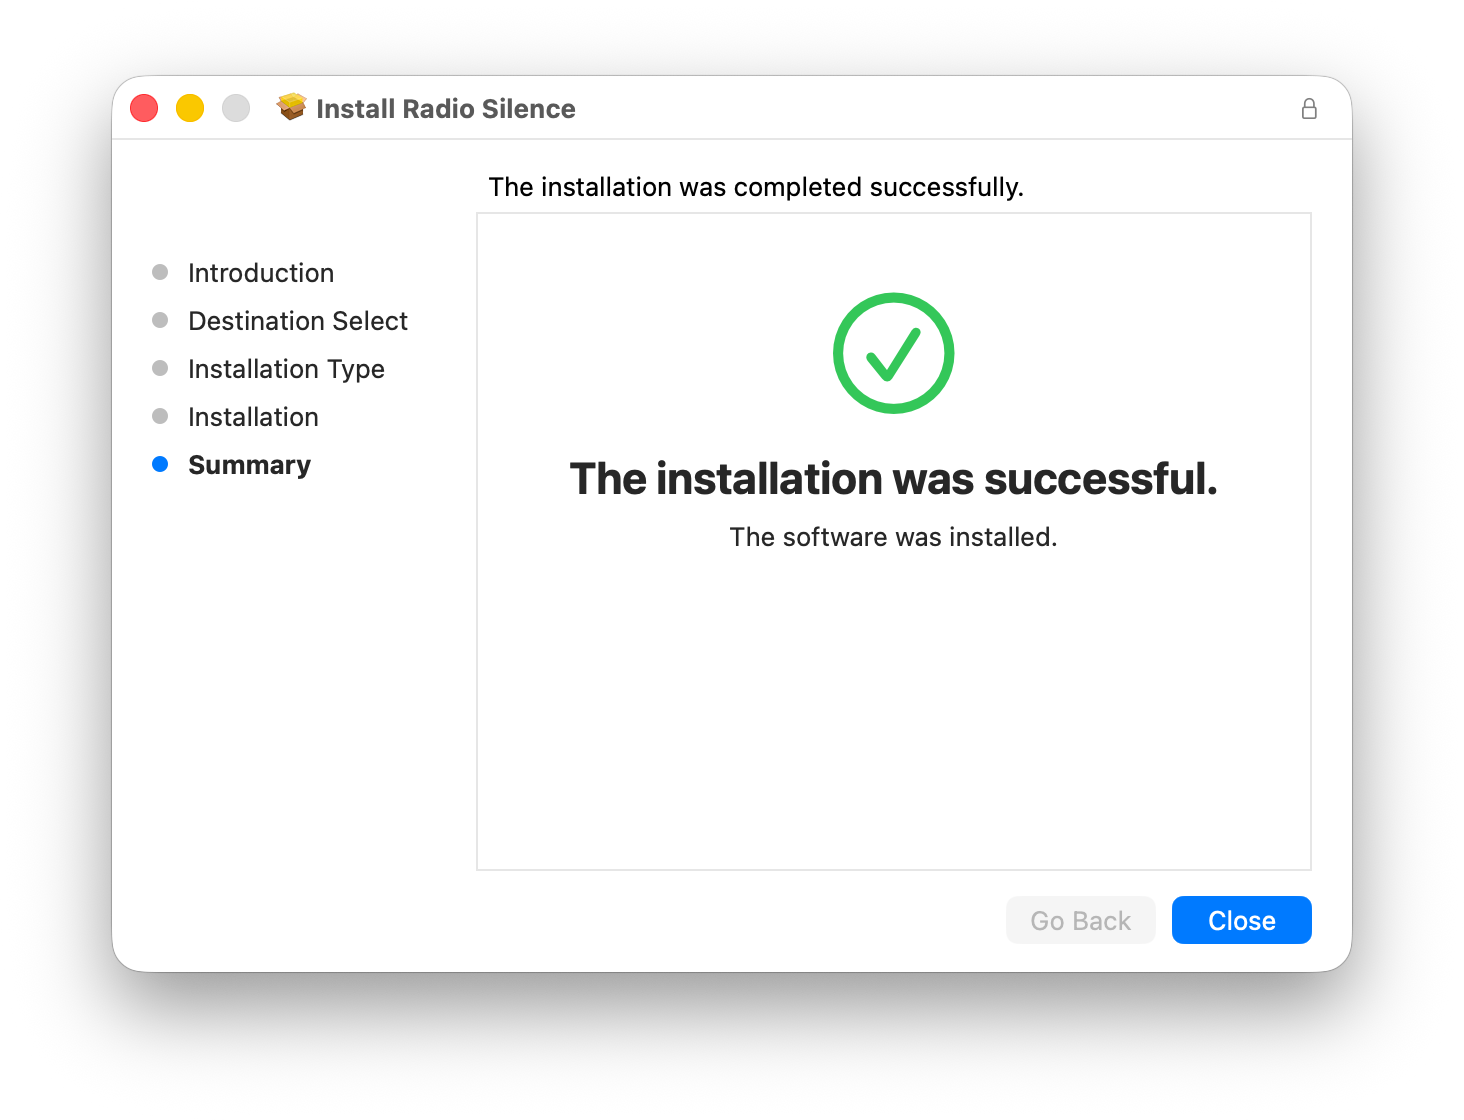
Click through the installer's screens. You'll have to enter your password at one point. After a few clicks, the installer finishes:
Enabling the network extension
Launch the app for the first time
After running the installer, launch the Radio Silence app from /Applications. The app will notice that the network extension is not yet enabled, and show you instructions and a button to open the settings:
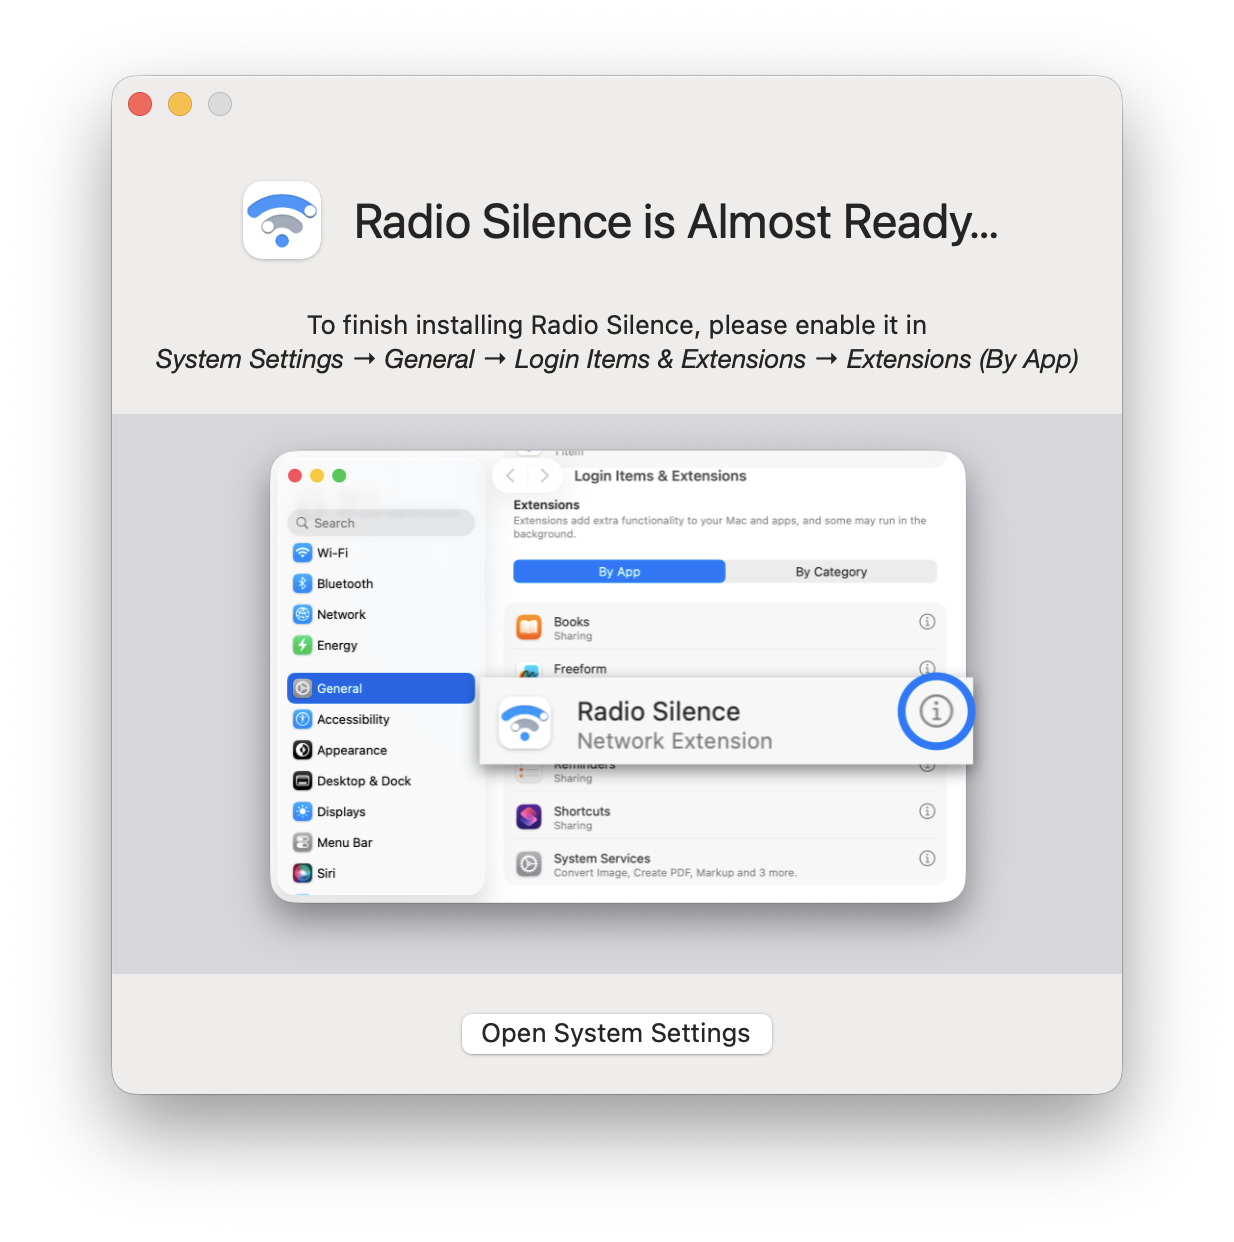
You might also see macOS itself announce the same thing at the same time:

Click "Open System Settings" from either one.
Enable the network extension in System Settings
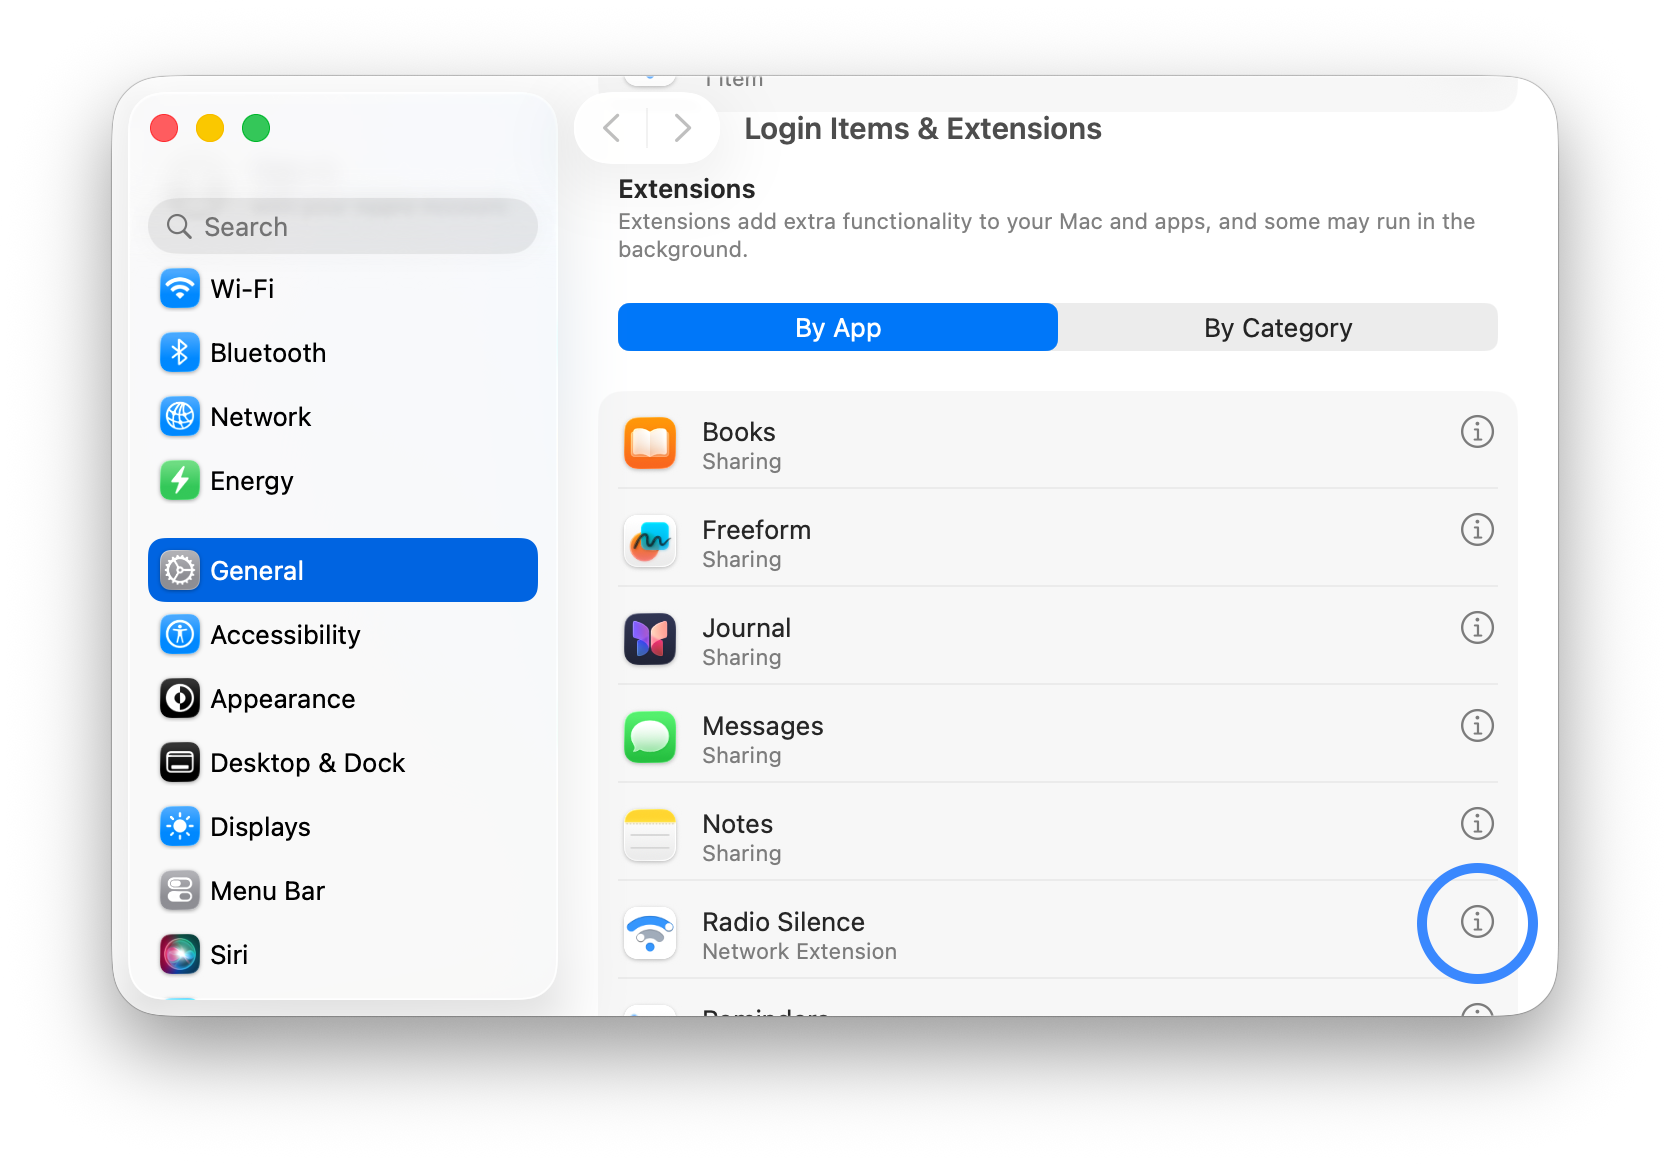
(Depending on your version of macOS, you might be able to skip the first step here. The "Open System Settings" button may jump straight to the second screenshot.)
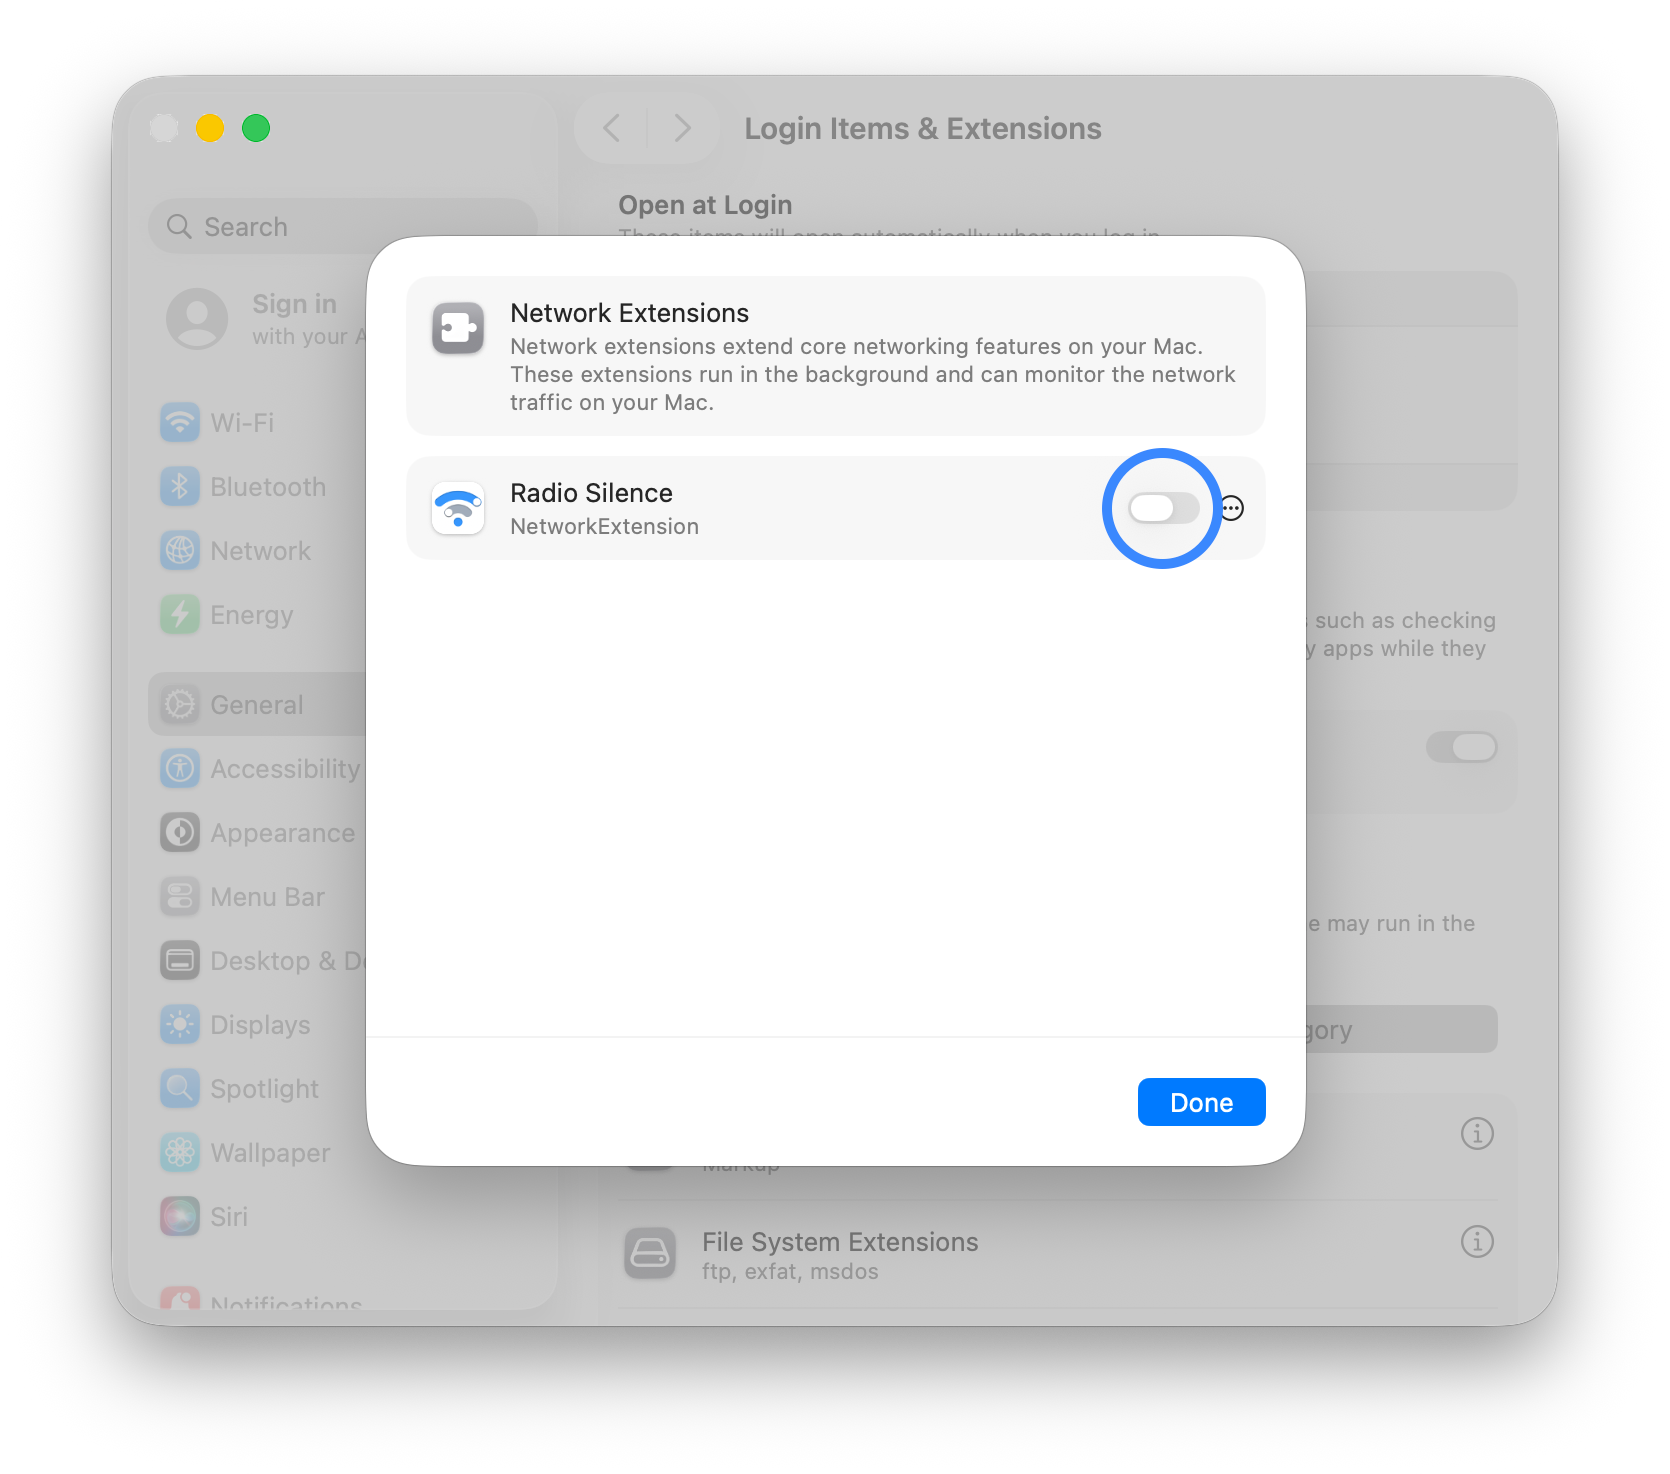
In System Settings > General > Login Items & Extensions, scroll down to the Extensions section. Radio Silence should appear in the application list. Click on the "i" icon on the right:
That will show you a toggle switch. Toggle it on:
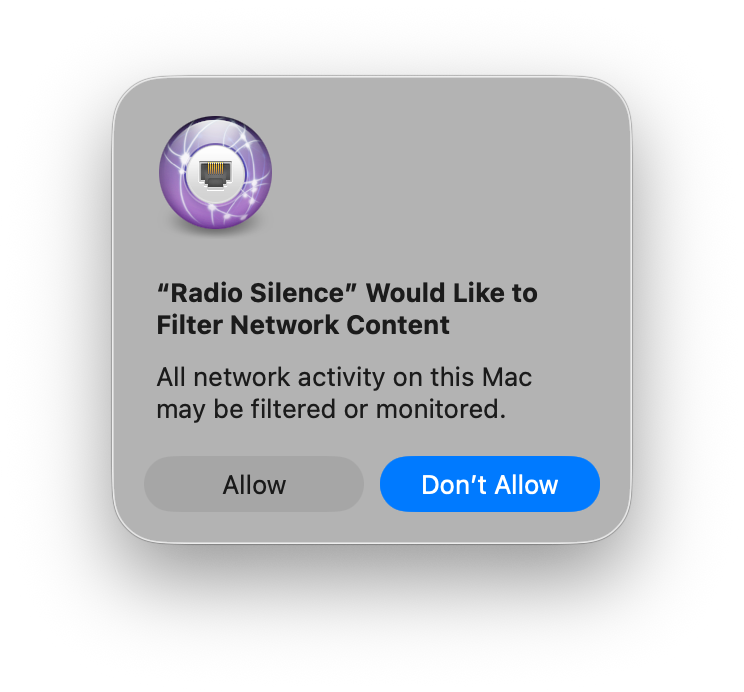
After toggling the switch, macOS will ask for confirmation. Click Allow. Note that "Don't allow" is the default choice. It's easy to accidentally click it.
After clicking Allow, you're all done!